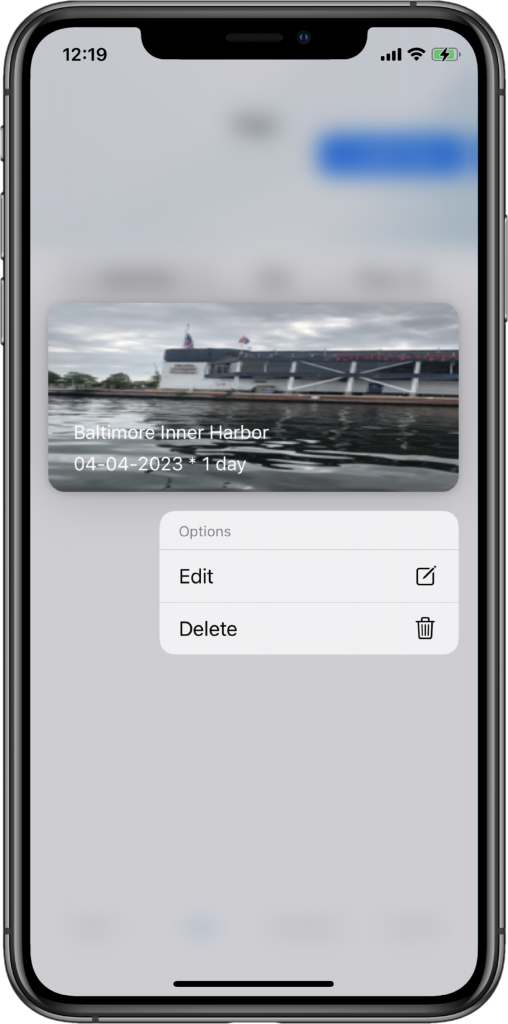
Trip Details Menu
Press and hold your finger on the image to access the menu. Tap “Edit” from the menu to access the trip summary page.
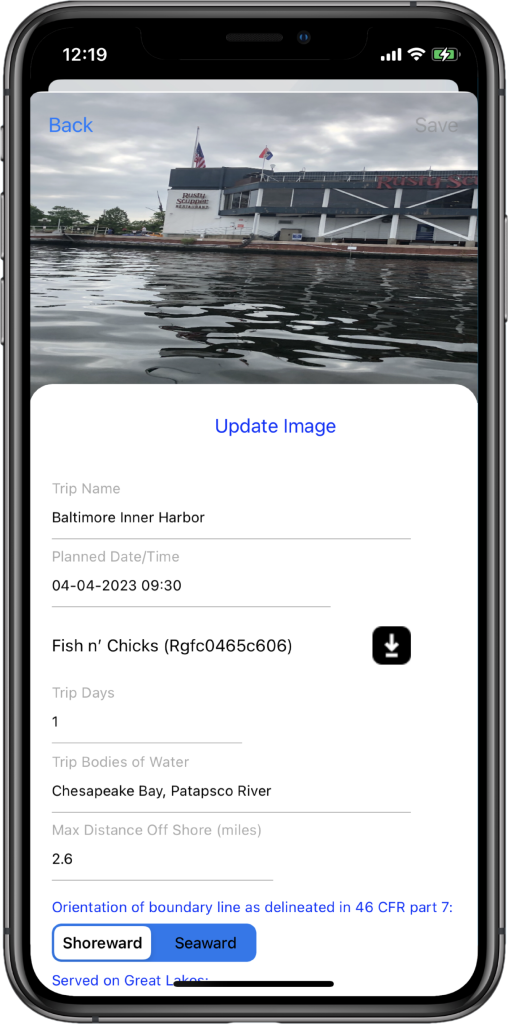
Trip Summary View (part 1)
Adding an image is optional. To update the image, tap the “Update Image” button. Add a trip name, select a date for the trip from the planned date calendar, tap the drop down arrow and select the vessel you plan to use, in the event multiple vessels are entered. Add the number of trip days (can be changed later), add the bodies of water you plan to boat in for this trip, the maximum distance off shore, the body of water orientation to the boundary line as delineated in 46 CFR part 7, and whether the body of water is on the Great Lakes. Note, if the vessel selected has the home port entered, there is an additional option on this page to select the “start trip at home port” and “end trip at home port” radio buttons. The “Save” button is enabled once the data is validated.
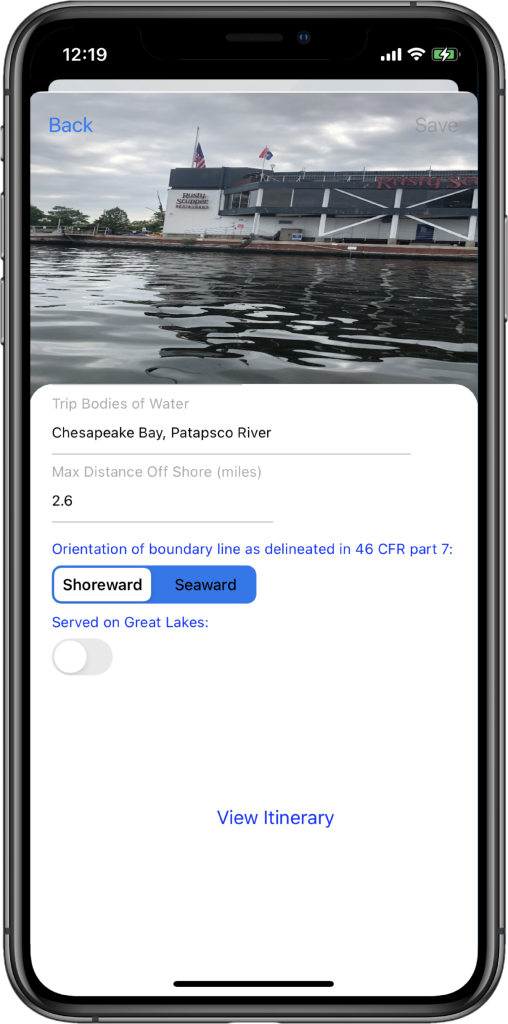
Trip Summary View (part 2)
Tap the “View Itinerary” button to display the itinerary view.
Trip Itinerary View (part 1)
The Itinerary View show the trip summary in the top most collection cell, including the trip name, trip dates, number of days, total duration, total distance in miles and duration and distance for each day. Subsequent collection cells show each segment of the trip. Each cell has depart and arrival locations name, address, timestamp, latitude/longitude. The average speed/average RPM (optional at this point) can be added for this segment as well as the total distance for this segment.

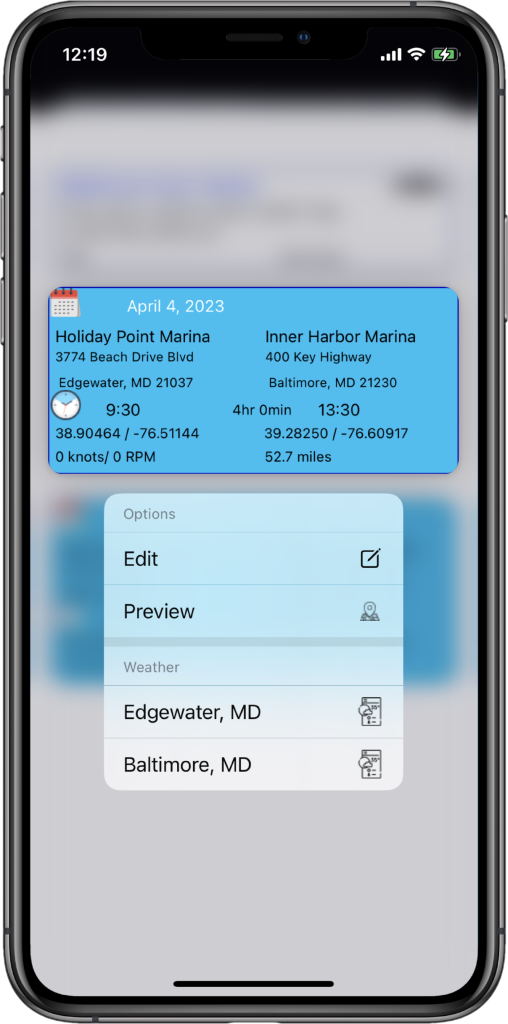
Trip Segment Menu
Segments are shown for each departure/arrival combination of the trip. The segment shows a summary of the section of the trip. Tap the “Edit” menu item to view the departure and arrival details. Adding this data can be accomplished by entering it manually or auto-populated using the marina dialog. To enter the data manually, press and hold you finger on the segment you would like to access.
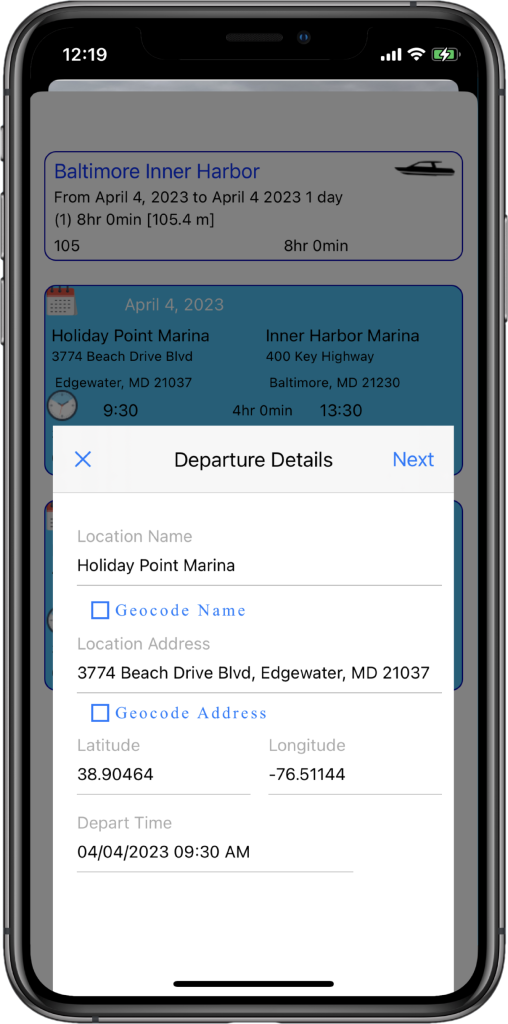
Trip Departure Details
The Departure Details dialog supports geocoding by name or by address. For popular landmarks use geocode by name. An example would be Jockeys Ridge in the Outer Banks. Tap the geocode by name radio button, type in “Jockeys Ridge” in the Location Name field and hit return/enter key. You can optionally geocode the address by selecting the geocode address radio button, typing in the address in the Location Address field and hitting the enter/return key. Add the the depart time to complete the entries for this view.
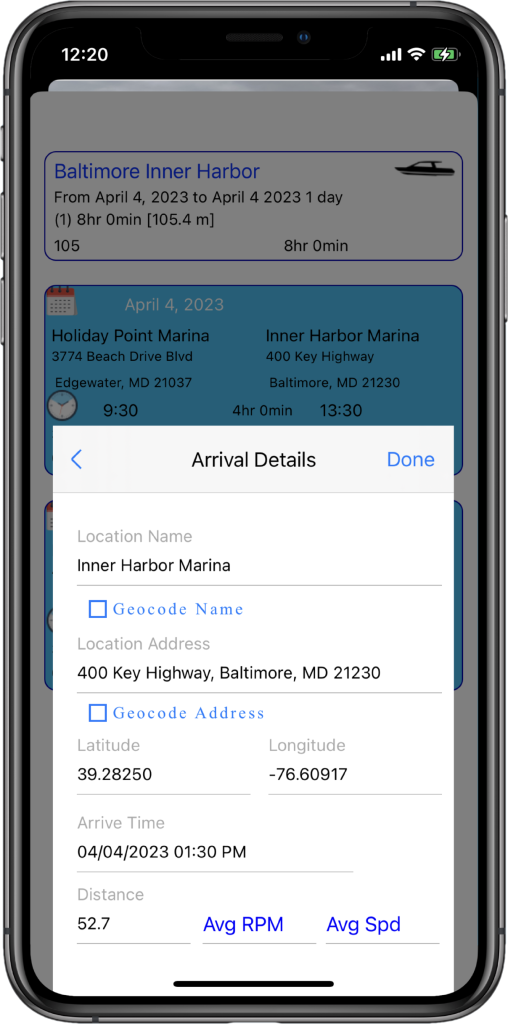
Trip Arrival Details
The Arrival Details dialog supports geocoding by name or by address. This dialog operates the same as the departure dialog Add the the arrival time to complete the entries for this view. Tap “Done” to save the entries
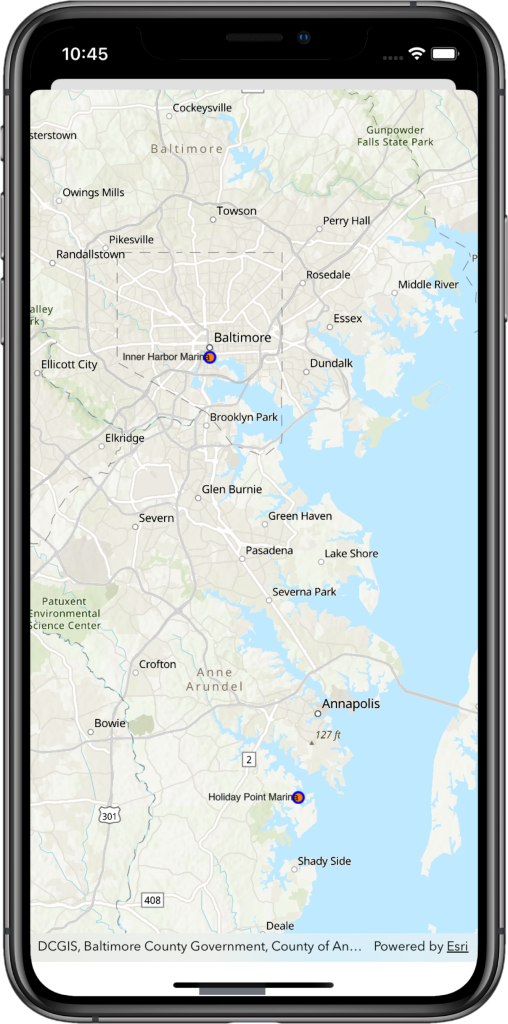
Trip Segment Map View
Tap the Preview menu item from the Trip Segment menu to view the trip departure and arrival on the map.

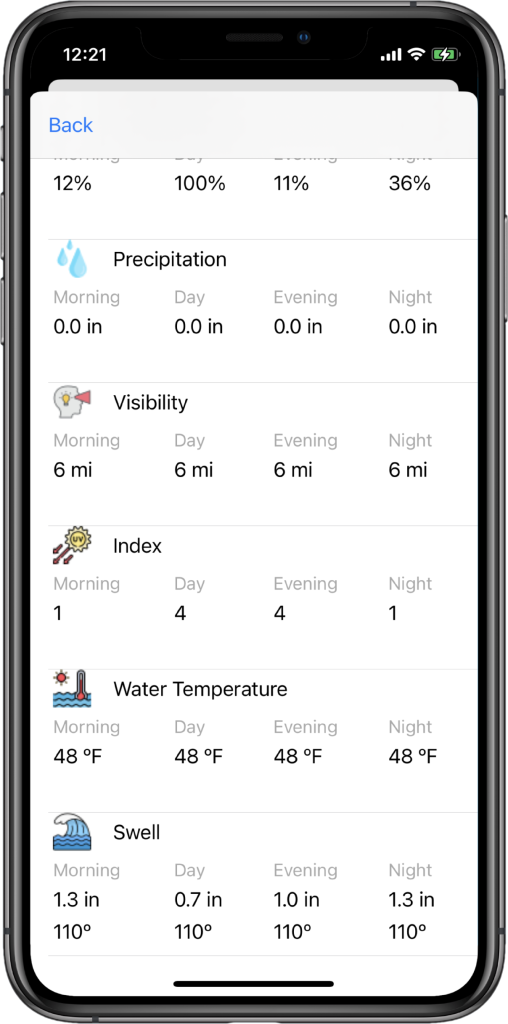
Trip Segment Weather Report (part 1)
Tap a location name from the Trip Segment menu to view the weather report for that location.
Trip Segment Weather Report (part 2)
Tap the “Details” button to view the detailed weather report for the trip location.
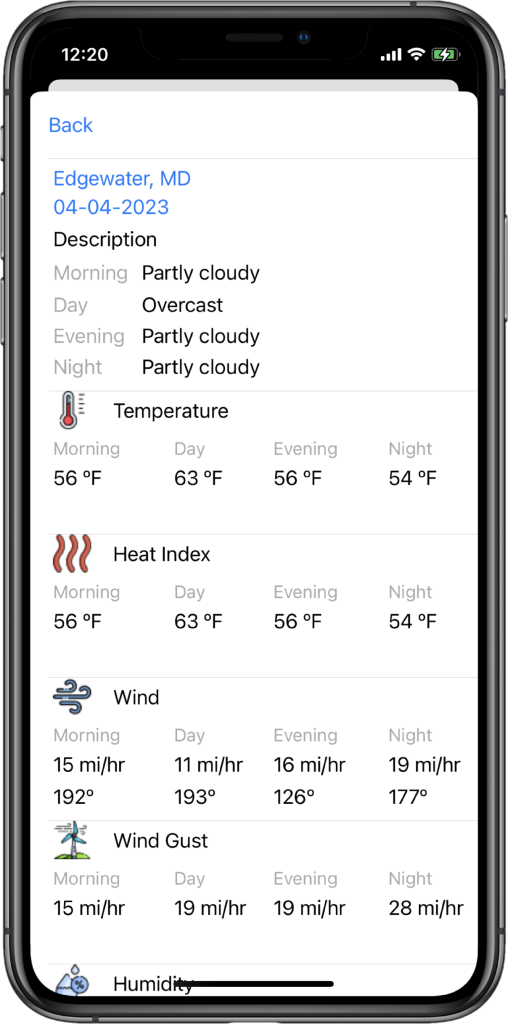
Trip Segment Weather Report (part 3)
Scroll down to see the next section of the screen.
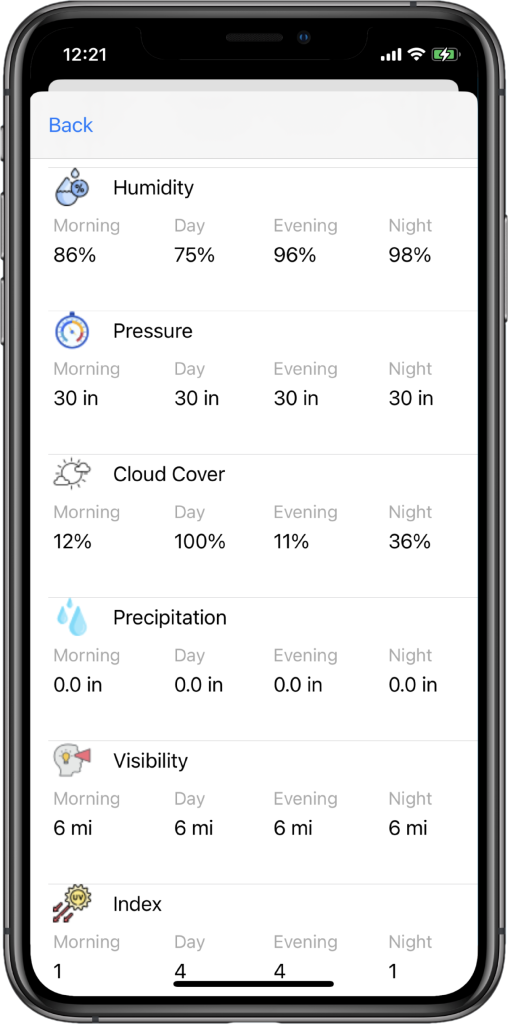
Trip Segment Weather Report (part 4)
Scroll down to see the remaining section of the screen.